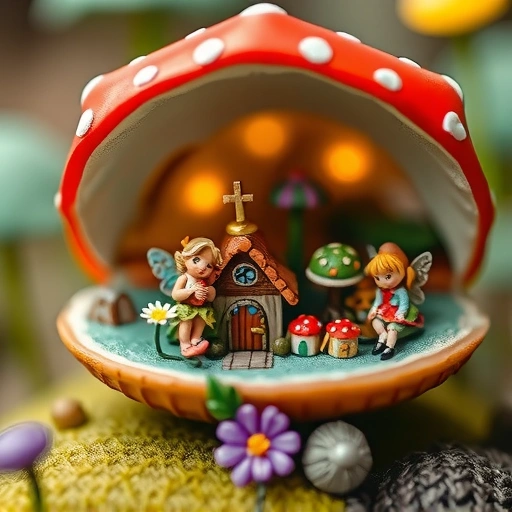
Getting Started with Midjourney
Midjourney is currently run on Discord. Soon, there might be a web version, but for now, Discord is the place to be.
- Go to the Midjourney website and accept the Discord invite.
- If you don’t have Discord, you will need to sign up.
- Once in the Midjourney Discord server, you’ll see many “newbies” rooms on the left. You can start generating here, but it’s usually very busy.
Setting Up Your Own Space
To avoid the crowd and have a dedicated spot to create, you should get the Midjourney bot into your own private Discord server. Here’s how:
- Click the plus sign on the left sidebar in Discord to create a new server.
- Choose to create your own server (you can skip the template question).
- Give your server a name and create it.
- Find the Midjourney bot. You can usually see it in the member list of the main Midjourney server.
- Click on the Midjourney bot and select “Add to App”.
- Choose the private server you just made and authorize the bot to join.
Now you have a private server, and the Midjourney bot will join it, ready for you to start creating art.
Subscription Information
Midjourney used to have a free trial, but that is no longer available. You now need a paid plan to create images. Plans start at a low monthly cost. It’s a worthwhile expense if you plan to create images regularly, whether for fun or for design work.
Configure Your Settings for V6
Before you start generating images, you need to make sure you are using Midjourney version 6.
- Keep the stylize setting on the default for now. Higher stylization creates more artistic images but might make them follow your prompt less closely.[/LI>
Creating Your First Images
The core of Midjourney is the `/imagine` command. This is where you type your prompt – the description of the image you want.
- Type `/imagine` and press Tab.[/LI>
- You’ll see a box labeled “prompt”. Click on it.
- Type your description. For example, “iced coffee on a modern work desk”.
- Press Enter and wait a moment.
Midjourney will generate four different versions of your image based on your prompt. Below the images, you’ll see buttons like U1, U2, U3, U4 and V1, V2, V3, V4. The “U” buttons are for Upscale. If you see an image you like (they are numbered 1 to 4, starting from the top left and going across), click the corresponding “U” button to create a larger, more detailed version of that single image. The “V” buttons create new variations of that image.
Using Reference Images
You can guide Midjourney by providing a reference image. This is great for creating images based on a person or a specific style.
- First, upload your reference image to Discord by clicking the plus sign and selecting “Upload File”. Press Enter to send it.
- Click on the image you just uploaded.
- Right-click the image and select “Copy image address”.
- Type `/imagine` in the chat and press Tab.
- Paste the image address you copied at the beginning of the prompt box.
- After the image address, add a space and then type your text prompt. For example, “as a Pixar character playing guitar”.
- Press Enter.
Midjourney will now use your reference image as inspiration along with your text prompt to generate new images.
Adding Text to Your Images
Midjourney V6 improved its ability to include text in images, which was very hard before. It’s not perfect yet, but it works much better.
To add text, put the words you want in quotation marks within your prompt.[/P>
[LI>Type `/imagine` and press Tab.
[LI>Type your prompt, including the text in quotes. For example, “forearm tattoo that says “hi Mom” in cursive”.
[LI>Press Enter.[/LI>
Midjourney will try to include the exact text in the image based on your prompt. Remember, results can vary, but it’s a useful tool to try.
Conclusion
Now you know the basic steps to start using Midjourney V6. You’ve learned how to join, set up your own space, generate images from text, use reference images, and even add text. Keep practicing with different prompts and settings to see what amazing art you can create.
Do This Locally with Logen
Skip the subscription. Generate images like these on your own GPU — private, unlimited, no cloud dependency.
Midjourney vs Logen
| Feature | Midjourney | Logen |
|---|---|---|
| Cost | $10-60/mo | Free & Pro plans |
| Privacy | Cloud (images stored) | 100% local |
| Generations | Limited by plan | Unlimited |
| Internet Required | Always | No |
| Custom Models | No | Yes (any ComfyUI model) |
| GPU Required | No (cloud) | Yes (local) |
| Ease of Use | Discord bot | Desktop app |