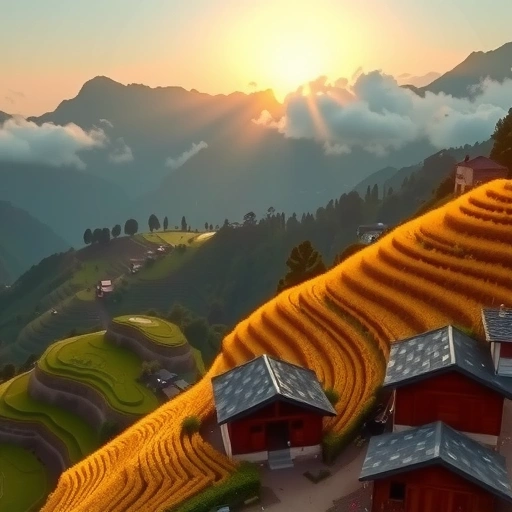
How Draft Mode Changes Image Creation
Think of creating an image in Draft Mode like building a scene piece by piece. You start with a blank area and add elements one after another.
First, maybe you add a house.
First, maybe you add a house.
Then, add some trees.
Then, add some trees.
Next, a mountain.
Next, a mountain.
Put a person in the scene.
Put a person in the scene.
Finally, add clouds.
Finally, add clouds.
Once you have the basic setup you like, you can tell Midjourney to make the final images.
This step-by-step process gives you lots of room to try different ideas as you go.
Using Draft Mode with Voice Commands
A helpful way to use Draft Mode is with voice input. Instead of typing a long prompt all at once, you speak your instructions.
Starting Your Scene
You might start by saying something simple like “a table with two chairs.” Midjourney creates a basic image based on this.
You know you are in Draft Mode because you’ll see a special marker on your prompt.
Adding Details Iteratively
Now, you can keep adding layers and details. You might say:
“put two cups of tea on the table”
“put two cups of tea on the table”
“add a person on the left chair”
“add a person on the left chair”
“put a flower on the table”
“put a flower on the table”
Midjourney updates the image based on each new instruction. You can see how each command changes the picture.
Making Changes and Adjustments
Draft Mode also lets you change things easily:
Need different light? Say, “change the lighting to neon green.”
Need different light? Say, “change the lighting to neon green.”
Want to remove something? Say, “remove the shoes from the person.”
Want to remove something? Say, “remove the shoes from the person.”
You can even go backwards. Say, “change the lighting situation from green neon light to a soft golden hour.” All the other details you added (the table, chairs, cups, flower, bare feet) stay in place.
This way of working image by image gives you lots of power to guide the AI exactly as you want.
Managing multiple steps and ideas can become complex. If you find yourself doing repetitive tasks or wishing for a smoother workflow, consider exploring tools that can help. The
From Draft to Final Image: The Enhance Step
When you are happy with your scene in Draft Mode, you click “enhance.”
This tells Midjourney to take everything you’ve added and create the final, high-quality images you expect. It uses your last set of instructions from the Draft Mode process to generate the finished result.
The final images created after enhancing will have all the fine details and lighting effects Midjourney is known for.
Why Use Draft Mode?
One big benefit of Draft Mode is speed. For the planning or design part of your work, you don’t always need a perfect, high-resolution image right away.
Draft mode quickly shows you the basic idea and layout. This saves time during the creative phase.
It’s perfect for figuring out your core image idea before you spend time generating final versions.
If you are looking to speed up your entire image creation workflow, not just the drafting phase, check out the
Getting Great Results
Using Draft Mode involves a small change in how you think about making images. Instead of trying to describe the whole picture in one go, you add elements and refine the scene step-by-step.
Adjusting your process this way can lead to impressive results and give you more control.
Ready to take your Midjourney creations even further? The
Conclusion
Midjourney V7’s Draft Mode offers a flexible and fast way to build up image ideas. By adding elements one at a time and using voice commands, you can quickly put together the scenes you want before generating the final pictures. It’s a useful method for planning and experimenting.
Do This Locally with Logen
Skip the subscription. Generate images like these on your own GPU — private, unlimited, no cloud dependency.
Midjourney vs Logen
| Feature | Midjourney | Logen |
|---|---|---|
| Cost | $10-60/mo | Free |
| Privacy | Cloud (images stored) | 100% local |
| Generations | Limited by plan | Unlimited |
| Internet Required | Always | No |
| Custom Models | No | Yes (any ComfyUI model) |
| GPU Required | No (cloud) | Yes (local) |
| Ease of Use | Discord bot | Desktop app |