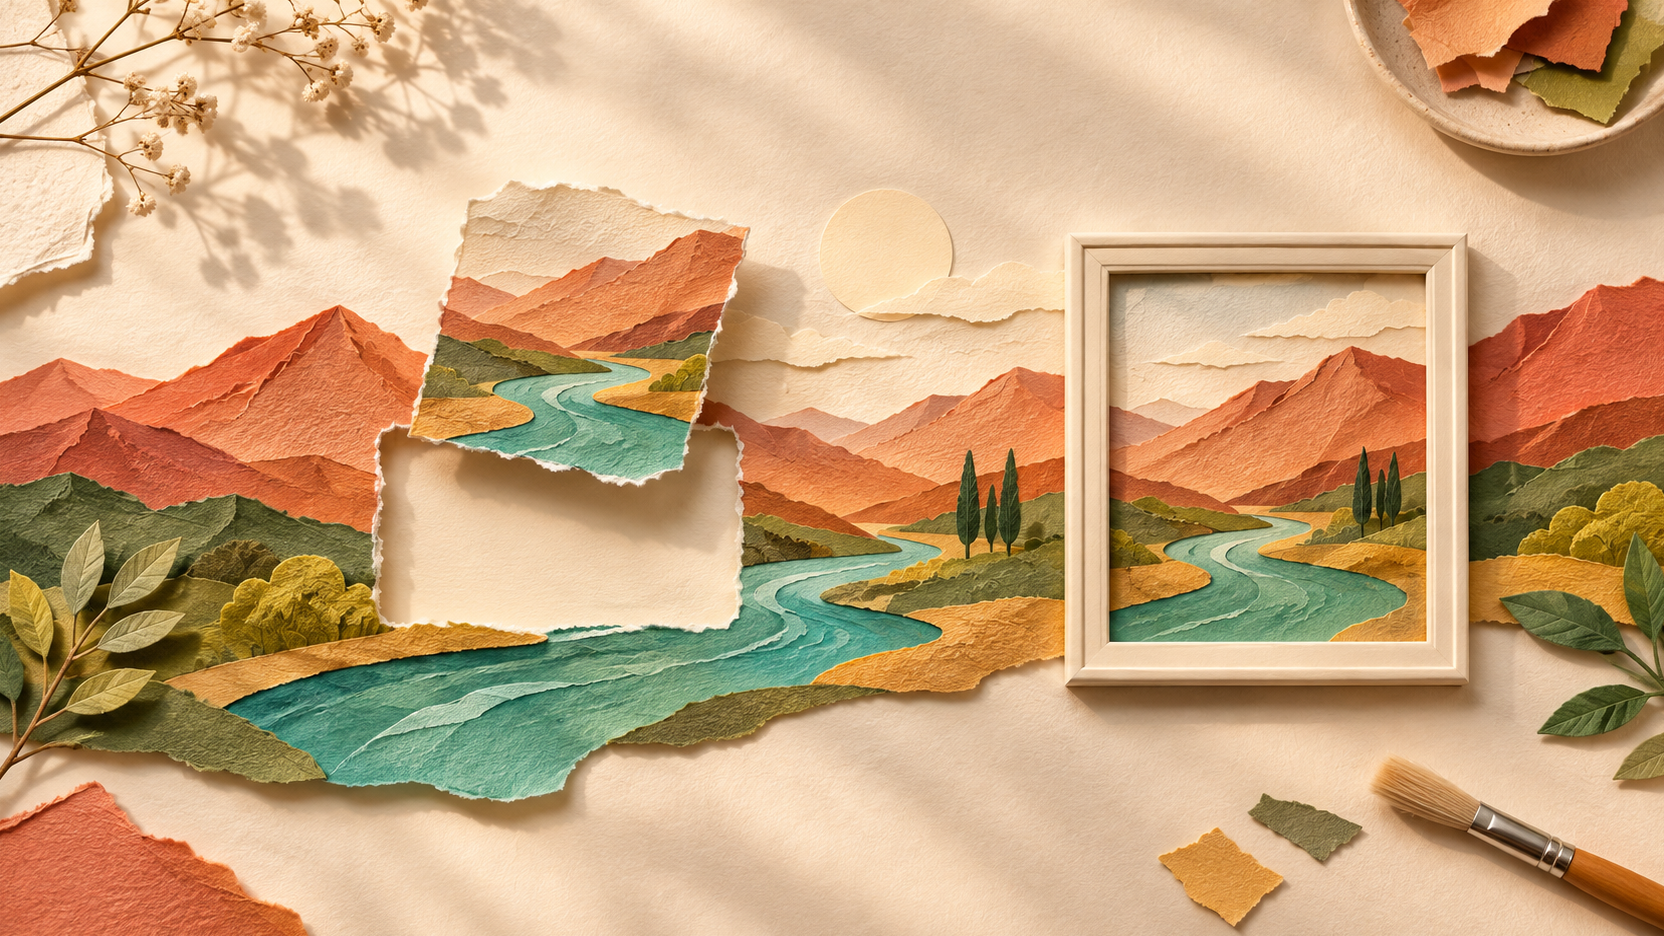
Use inpainting when a region inside an image needs changing. Use outpainting when the picture needs new content beyond its existing borders. Both require more than a different prompt: the editing workflow needs to know which pixels are available for change and which parts of the original should remain.
This guide explains documented open-model workflows, not a new editing benchmark. The hero is an original OpenAI-generated editorial illustration, not a FLUX Fill result or a Logen screenshot. Examples below are proposed exercises. No client photograph or cloud editing account was used to make them.
First decide what must survive
Suppose you have a fictional landscape with a cottage beside a river. There is an unwanted object in the foreground, but you like the cottage and the sky. That is a regional editing problem. If instead you need a wide banner with more riverbank on each side, the missing material is outside the image. That is a canvas-extension problem.
Write down the protected details before opening an editor. These might be the outline of a building, the expression on a face, or a licensed logo. A plausible replacement is not necessarily an acceptable preservation of those details. For an exact product, legal mark or documentary photograph, ordinary compositing may be safer than asking a generator to reconstruct it.
Keep an untouched source copy. Save experiments as new files rather than overwriting the only original. If you are working locally, our project backup guide explains why the source input belongs beside the prompt and output, not just inside a temporary upload folder.
A mask is an instruction about location
The Diffusers inpainting guide uses a mask with white pixels for the area to fill and black pixels for the area to keep. That convention belongs to the documented pipeline. Check the convention in the editor you actually use rather than assuming every coloured overlay has the same meaning.
The base image supplies context; the mask locates the edit; the prompt describes the desired content. A beautifully written prompt cannot compensate for a mask over the wrong object. Inspect the selection at a useful zoom before generating. Include the boundary that needs rebuilding, but avoid exposing unrelated protected details merely because a larger brush is convenient.
Mask blur softens the transition at the edge of a selection. Diffusers documents a blur factor for this purpose. It is a blending control, not a promise that the new object will have correct lighting or geometry. A broad soft edge can also spread the visible change into a region you wanted to preserve.
Inpainting does not always preserve every unmasked pixel
This detail matters when a brief says everything else must stay exactly the same. The Diffusers guide distinguishes specialised inpainting checkpoints from ordinary checkpoints used in an inpainting pipeline. It notes that specialised models can produce more natural transitions while also changing unmasked areas. A mask alone is therefore not proof of pixel identity.
Diffusers also documents an overlay method that forces the unmasked area back to the source, with a possible cost in transition quality. If exact preservation is required, check whether your workflow actually performs such compositing. Compare the saved images, not only the preview. A visually similar region can still contain changed pixels.
For the cottage example, inspect the roofline and window shapes after replacing the foreground object. If those protected details changed, reject that version even if the overall picture looks attractive. Your acceptance condition should follow the job, not whichever output happens to look most polished.
Outpainting creates context that never existed
Outpainting extends the canvas and synthesises material in the new region. Black Forest Labs describes FLUX.1 Fill as supporting text-driven inpainting and outpainting. This is different from simply resizing the original pixels or stretching the picture until it fills a wider frame.
Plan the destination first. A banner may need empty room beside the subject for a heading. Tell the editing workflow what should continue into that room: riverbank, open sky, soft studio background or another specific environment. An extension with extra buildings may be visually plausible but useless if you needed quiet space for readable type.
Look closely at the old border. Repeated clouds, bent horizons and a sudden change in texture can reveal a poor join. Check the far edge too. A convincing seam does not mean the newly generated outer corner has sensible perspective. Extend in manageable stages if your workflow supports it, retaining earlier acceptable versions. Our export inspection guide covers checking both detail and the final destination.
Match the checkpoint to the task
The FLUX.1 Fill dev model card describes a specialised model for filling image regions. It is not the same checkpoint as FLUX.1-schnell. A text-to-image starter installation does not automatically include a compatible Fill workflow, its weights or its dependencies.
The Fill dev repository presents a FluxDev Non-Commercial licence agreement. Do not transfer an Apache-2.0 statement from another FLUX checkpoint onto these weights. Model-use terms, output-use provisions and hosted service terms are separate questions. Read the exact licence and terms for the route you intend to use, particularly for business work.
The same caution applies to downloaded inpainting checkpoints in other model families. Verify the base architecture, pipeline and licence rather than treating all files with a familiar model name as interchangeable. This guide supplies no universal GPU-memory minimum or speed estimate; those depend on the actual workflow, precision, resolution and offloading choices.
Make one small, inspectable edit
- Choose a non-confidential source that you own or have permission to edit. Keep the original separate.
- State one change and one protected feature. For example, remove a foreground prop while keeping the cottage geometry.
- Verify the mask meaning, selected checkpoint and output size in the chosen workflow.
- Save the result under a new name, inspect the seam and protected regions, then decide whether another change is justified.
If the object changes but the seam fails, investigate the mask edge or blending process. If the whole scene changes, investigate the workflow and preservation behaviour. Changing every control together makes it harder to tell which correction helped. Record the source filename, mask, prompt and settings with the version you keep.
Run local generation without assuming editing parity
Logen Free is one local desktop option for compatible Windows and Linux x64 PCs, with a FLUX.1-schnell starter workflow. It is useful for creating source stills locally. This article does not claim that Logen bundles FLUX Fill, a mask painter or this entire inpainting exercise. macOS is unsupported in this release.
The current user guide lists the supported workflows and separates Free features from Pro custom workflow import. An import feature still requires a compatible graph, available models and appropriate model rights. Local runs have hardware and electricity costs even when they do not consume per-image cloud credits.
Quick answers about masks and canvas extension
What is the difference between inpainting and outpainting?
Inpainting changes a selected region within an existing image. Outpainting adds generated content beyond the original borders on an extended canvas. Both need a compatible editing workflow. Choose according to where the missing or unwanted content lies, and preserve a separate original before starting either operation.
Does an inpainting mask guarantee unchanged pixels outside it?
No. Diffusers documents that specialised inpainting checkpoints can also alter unmasked regions. Exact preservation may require an explicit overlay or compositing step. Inspect the saved output against the source and verify protected details. A visually similar result does not establish that every unmasked pixel is identical.
Keep the setup and model notes together
Use the free local AI starter guide to plan your machine and model setup. For an editing job, add the exact checkpoint, licence, source and mask to that record before relying on a promising preview.