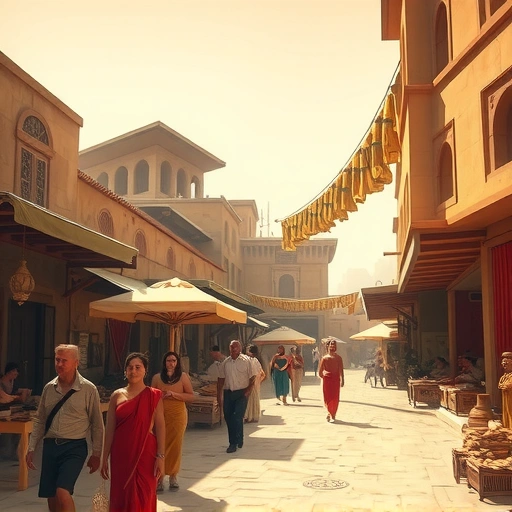
Getting Started with Midjourney
The easiest way to access Midjourney is through Discord. Here’s how to get set up:
Install Discord
If you don’t already have it, download Discord from discord.com. Discord is a platform that allows you to join communities and communicate with others.
Join the Midjourney Server
To join the Midjourney server, go to discord.gg/midjourney. This will give you access to the Midjourney community and the ability to create AI art.
Once you’re in the Midjourney Discord server, navigate to one of the “newbie” channels. These channels are designed for new users to experiment and create their first AI artworks.
Creating Your First AI Art
Now that you’re in the Midjourney server, here’s how to generate your own AI art:
Use the /imagine Command
In the newbie channel, type `/imagine` followed by keywords that describe what you want to create. For example, you could type `/imagine dragon riding scenario`. The more descriptive your keywords, the better the result will be.
Add Instructions for Realism and Detail
To make your AI art more realistic and detailed, add specific instructions to your prompt. For example, you can specify the style, lighting, or level of detail you want. This will help Midjourney generate an image that matches your vision.
Specify the Midjourney Version
For the best results, specify the version of Midjourney you want to use. Type `–V 4` at the end of your prompt to use version 4, which generally produces high-quality results.
Set the Aspect Ratio
You can also specify the aspect ratio of your image by adding `–ar` followed by the desired ratio. For example, `–ar 2:3` will create an image with a 2:3 aspect ratio. Other options include 1:1 and 3:2.
Here’s an example of a complete prompt: `/imagine dragon riding scenario, realistic, detailed –V 4 –ar 2:3`
Once you’ve entered your prompt, hit Enter and wait for Midjourney to generate your image. This may take a few moments.
Upscaling and Variations
After Midjourney generates your image, you’ll see several options. Here’s what they mean:</P]
- `U` stands for “upscale.” If you like one of the images, you can upscale it to full resolution by clicking the corresponding `U` button.
- `V` stands for “variation.” If you like the general style of one of the images, you can create four more variations of it by clicking the corresponding `V` button.
- The arrows indicate that you want Midjourney to re-run the prompt and generate a new set of images.
Upscaling an Image
If you decide to upscale an image, click the `U` button corresponding to the image you want. For example, if you like the second image, click `U2`. Midjourney will then upscale the image to full resolution.
Free vs. Paid Plans
Midjourney allows you to generate 25 images for free. After that, you can subscribe to a paid plan, which starts at $10 per month for 100 images. Paid plans also allow you to generate images privately, as the free version is public.
Get the Full-Resolution Image
To get the full-resolution version of your image, react to the message with the email emoji. The Midjourney bot will then DM you the full-resolution image.
Automate Your Midjourney Workflow
Discover the power of automation with the Midjourney Automator by TitanXT and bring your visions to life faster than ever.
Conclusion
Creating AI art with Midjourney is a fun and easy way to bring your imagination to life. With a few simple prompts and instructions, you can generate stunning images in minutes. So why not give it a try and see what you can create?
Do This Locally with Logen
Skip the subscription. Generate images like these on your own GPU — private, unlimited, no cloud dependency.
Midjourney vs Logen
| Feature | Midjourney | Logen |
|---|---|---|
| Cost | $10-60/mo | Free & Pro plans |
| Privacy | Cloud (images stored) | 100% local |
| Generations | Limited by plan | Unlimited |
| Internet Required | Always | No |
| Custom Models | No | Yes (any ComfyUI model) |
| GPU Required | No (cloud) | Yes (local) |
| Ease of Use | Discord bot | Desktop app |