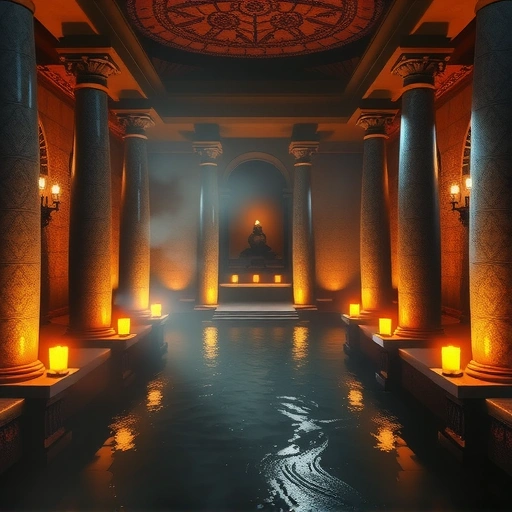
Think of yourself as a director. You tell Midjourney where the camera should be. While setting up complicated looks like asymmetrical shots might be hard, telling Midjourney the type of shot you want directly affects the main subject.
If you’re looking for ways to streamline your Midjourney workflow and experiment faster with different compositions, consider checking out the
How to Influence Your Shot Type
Midjourney uses keywords to understand the kind of shot you want. You can often add a word describing the composition or shot type right into your prompt. A basic structure might look like:
imagine prompt [description] [composition or shot keyword]
imagine prompt [description] [composition or shot keyword]
For example, you might write: “imagine prompt a beautiful woman closeup portrait”.
Common Midjourney Shot Types to Try
Here are several useful keywords you can add to your Midjourney prompts. Each one changes how your subject is framed or viewed:
[B]Closeup:[/B] This makes the image tight. It focuses just on the subject or a small part of them.
[B]Closeup:[/B] This makes the image tight. It focuses just on the subject or a small part of them.
[B]Extreme Closeup:[/B] Even tighter than a regular closeup. This highlights small details.
[B]Extreme Closeup:[/B] Even tighter than a regular closeup. This highlights small details.
[B]Extreme Wide:[/B] Captures a large view. It shows the subject within a much larger background or scene.
[B]Extreme Wide:[/B] Captures a large view. It shows the subject within a much larger background or scene.
[B]Full Body Shot:[/B] Shows the subject’s entire body all the way from head to toe within the picture frame.
[B]Full Body Shot:[/B] Shows the subject’s entire body all the way from head to toe within the picture frame.
[B]Bird Eye Shot:[/B] Shows the scene from directly above, like looking down from the sky like a bird.
[B]Bird Eye Shot:[/B] Shows the scene from directly above, like looking down from the sky like a bird.
[B]High Angle Shot:[/B] The view is from above the subject. This can make the subject look smaller.
[B]High Angle Shot:[/B] The view is from above the subject. This can make the subject look smaller.
[B]Low Angle Shot:[/B] The view is from below the subject. This can make the subject look bigger or stronger.
[B]Low Angle Shot:[/B] The view is from below the subject. This can make the subject look bigger or stronger.
[B]Over the Shoulder Shot:[/B] The picture is taken from behind the shoulder of one person. It usually focuses on another person or item in front of them.
[B]Over the Shoulder Shot:[/B] The picture is taken from behind the shoulder of one person. It usually focuses on another person or item in front of them.
[B]Profile View Shot:[/B] The subject is seen from the side. This gives a different perspective on their shape.
[B]Profile View Shot:[/B] The subject is seen from the side. This gives a different perspective on their shape.
[B]Back View Shot:[/B] The subject is seen from behind. This can add a feeling of watching or waiting.
[B]Back View Shot:[/B] The subject is seen from behind. This can add a feeling of watching or waiting.
Trying out these different terms with the same prompt can give you many varied results. Experiment to see which shots work best for your idea.
Managing many prompt variations can get tricky. A tool like the
Put It Into Practice
Controlling the shot type is a simple yet powerful way to direct Midjourney. It helps you move beyond just describing the subject. You start telling the AI how you want that subject presented in the frame.
Start with one prompt and try adding different shot types. See how the image changes. This practice will help you better predict how Midjourney will compose your images in the future.
Ready to take your Midjourney image creation to the next level? Explore prompt variations and manage your outputs with the help of the
Conclusion
Using composition keywords like different shot types is a basic but effective technique to improve your Midjourney results. It gives you more control over the final look of your images. Keep experimenting with these terms to better shape your creative vision.
Do This Locally with Logen
Skip the subscription. Generate images like these on your own GPU — private, unlimited, no cloud dependency.
Midjourney vs Logen
| Feature | Midjourney | Logen |
|---|---|---|
| Cost | $10-60/mo | Free |
| Privacy | Cloud (images stored) | 100% local |
| Generations | Limited by plan | Unlimited |
| Internet Required | Always | No |
| Custom Models | No | Yes (any ComfyUI model) |
| GPU Required | No (cloud) | Yes (local) |
| Ease of Use | Discord bot | Desktop app |